The Design Studio feature is an invaluable tool for users looking to elevate their marketing efforts, whether for print or digital platforms. This versatile application allows you to effortlessly create a variety of marketing materials, including eye-catching flyers, professional postcards, and engaging social media graphics. With its user-friendly interface, you can customize each design to reflect your unique branding and messaging.
Once your creations are complete, you can easily download them in high-resolution formats suitable for printing or directly share them on your preferred social media channels. This streamlined process not only saves you time but also enhances your ability to reach and engage your target audience effectively, making your marketing campaigns more impactful.
Please be aware that access to this feature is exclusive to myTRIBUS premium subscribers.
To get started, follow these simple steps:
1. Log in to your myTRIBUS account.
2. In the left-hand side menu, click on the "Marketing" tab.
3. From the options presented, select "Design Studio."
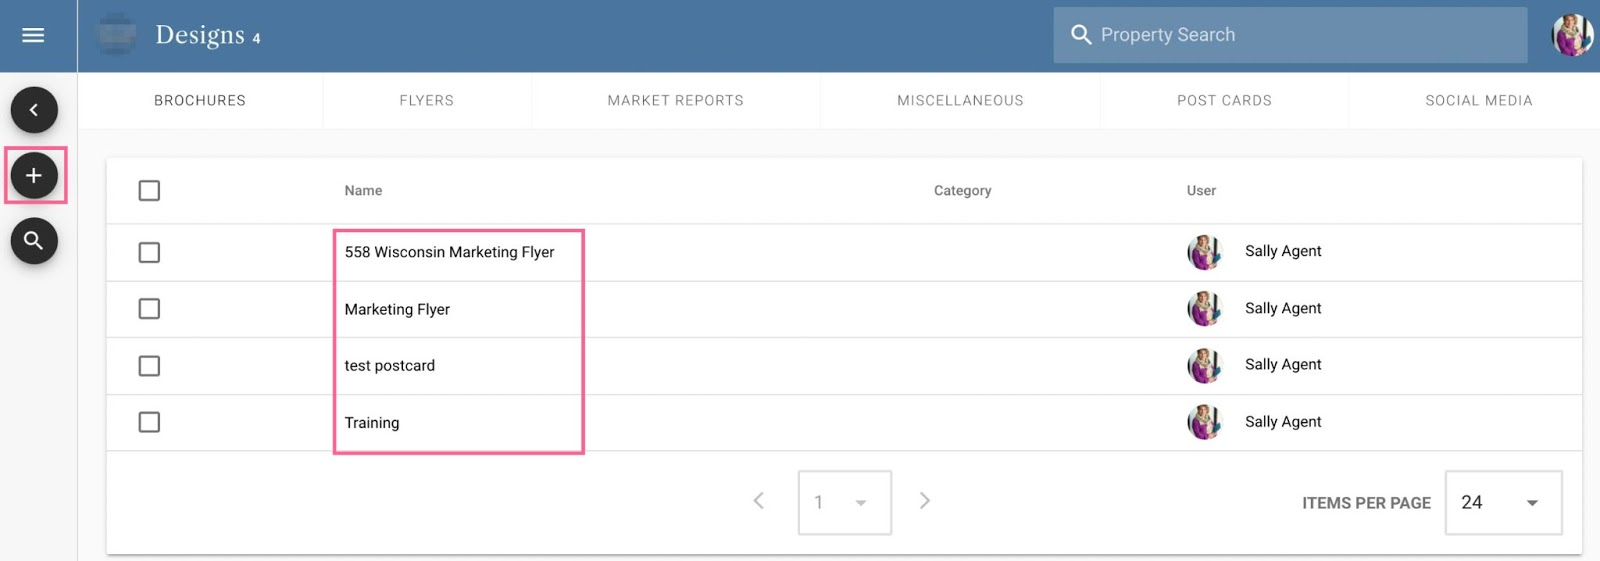
Once you have selected the design studio icon, you will be taken to your dashboard. You can see where your already created design will be, as well start a new design by clicking the "+" sign on the left-hand side of the screen.
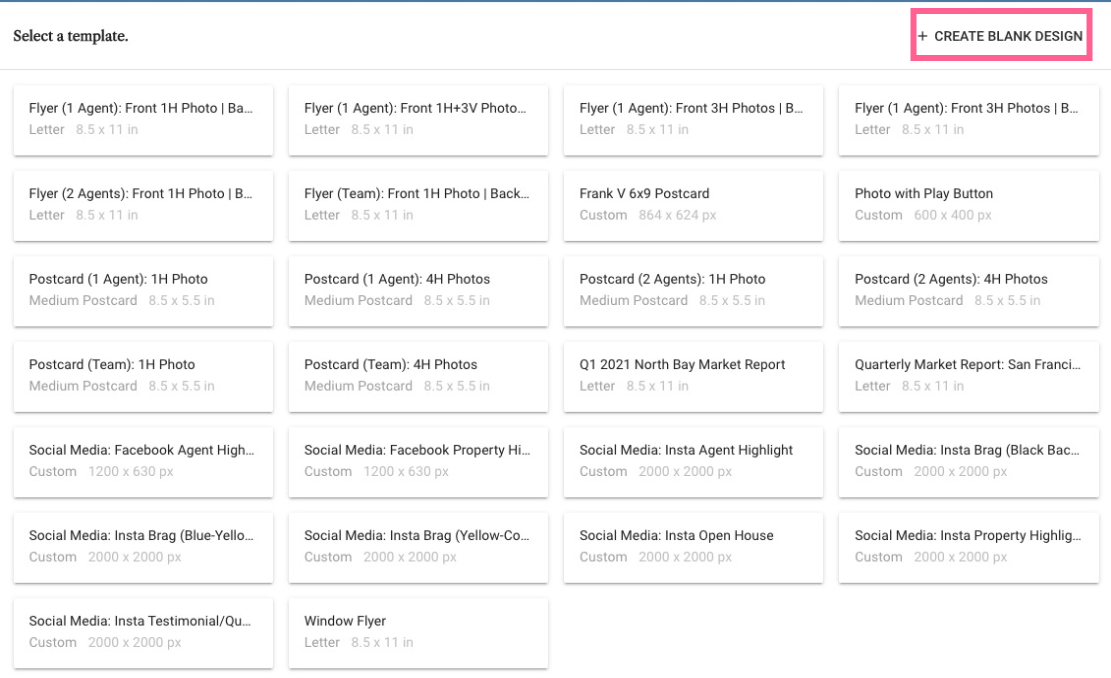
If you select the "+" sign then you will then be presented with available pre-built templates, or you can click the "create blank design" to choose your own dimensions for your template.
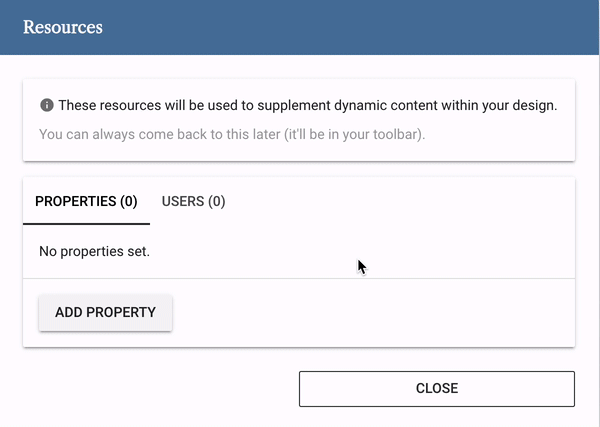
Once you have selected your template, you will then be prompted to add the property you want to add to the template, as well as the user that will be sending out the designed template.
Adding these resources will allow for pictures, addresses, and agent information to be pulled over automatically into the design studio editor so you don't have to type in any of that information.
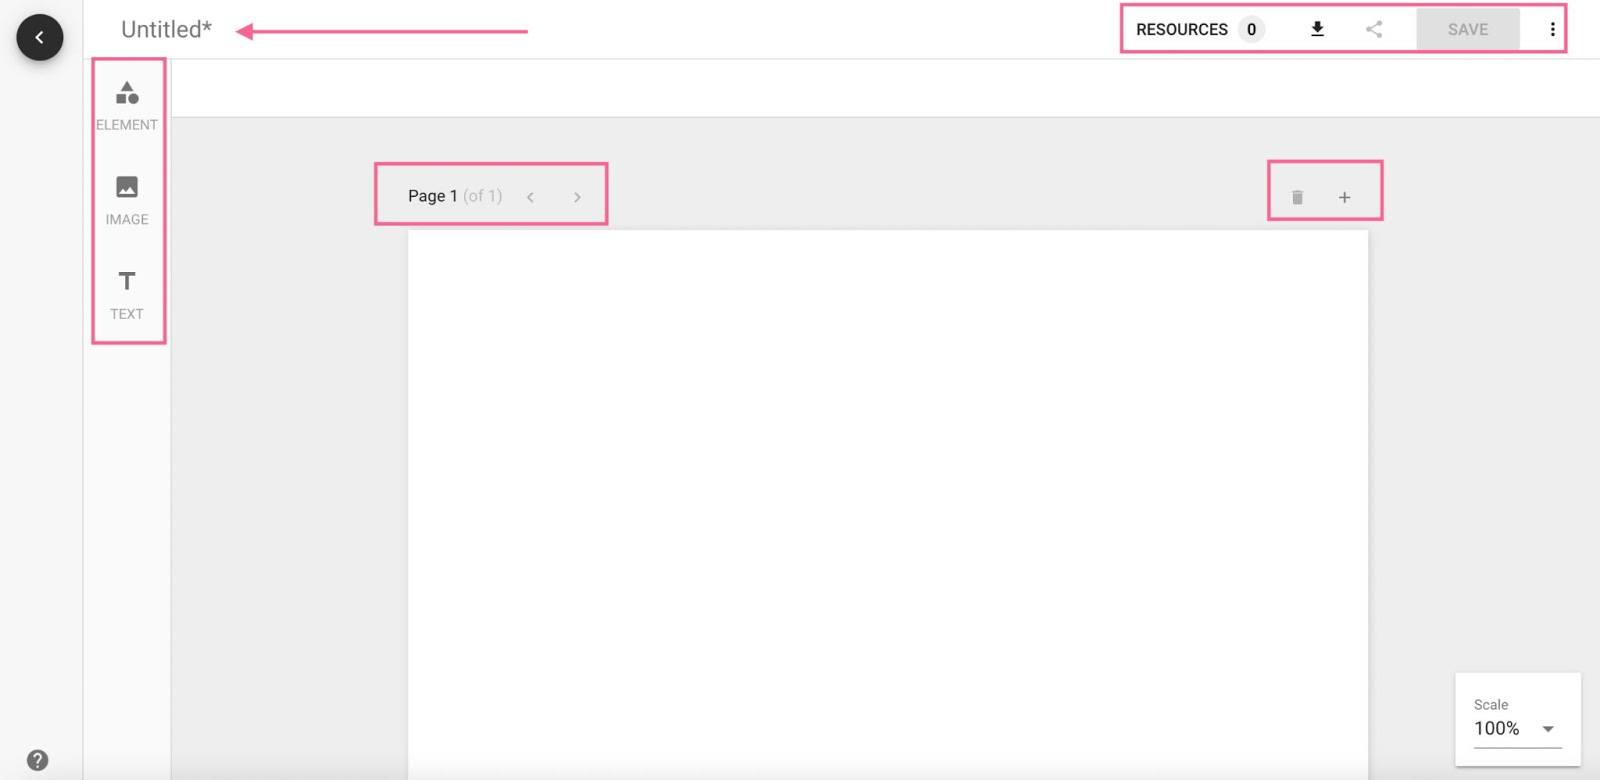
Once you have added your resources, you can then edit what the marketing piece you are designing is going to look like. You can choose from:
- Using the element button to add shapes for logos
- Use the image button to pull in photos
- Use the text button to add text
- Use the "+" sign to add pages
- Use the trash can icon to delete pages
- Use the arrows to flip back and forth between pages
- Use the resources button to add or change resources
- Use the download arrow to download or print the design
- Use the three connected dots to share the design
- Use the save button to save the design
- Use the three buttons to access additional settings
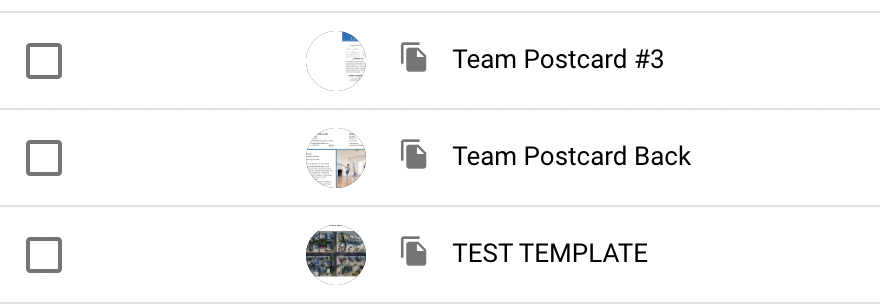
When you are finished, you will also notice that you can see a preview of your templates on the design studio dashboard. This intuitive feature allows you to quickly scan through all your designs at a glance, making it easy to locate specific templates for your marketing campaigns. Each preview displays key elements of your design, such as images, text, and layout, so you can assess the visual appeal and ensure it aligns with your branding goals.
Additionally, this organized view helps you manage your designs more effectively, allowing you to track which templates are completed, in progress, or require further editing. With just a few clicks, you can revisit any template for adjustments or reuse it for future campaigns, streamlining your workflow and enhancing your overall productivity.